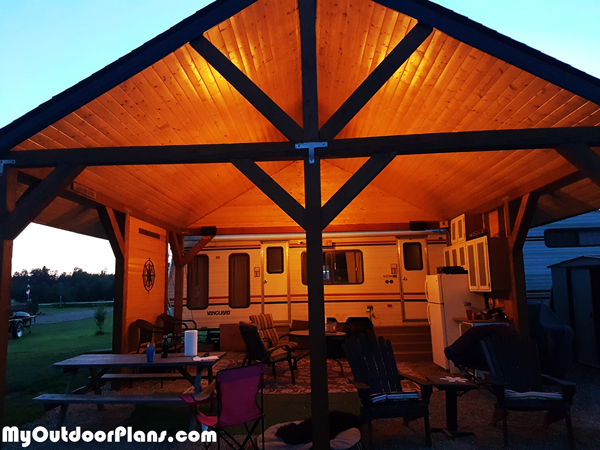
How to Build a Lean-To Shed: Free Plans Inside!
Dreaming of extra storage space or a cozy outdoor workshop but dreading the cost and complexity of a full shed build? A lean-to shed is the perfect solution! This simple, cost-effective structure attaches directly to an existing wall, minimizing materials and construction time. Follow these detailed instructions and free plans to build your own functional and attractive lean-to shed today. Get ready to conquer your storage woes and unleash your inner builder!
Planning Your Lean-To Shed
Before you grab your tools, careful planning is crucial. First, determine the size and location of your lean-to. Consider the available wall space on your house or existing structure, your budget, and the intended use of the shed. Sketch a simple design, noting dimensions and desired features. Next, check local building codes. Your municipality may have regulations regarding shed size, setbacks, and materials. Failure to comply can lead to delays or even fines, so this step is non-negotiable. Finally, gather your materials. This article provides a basic materials list, but adjust quantities based on your lean-to's size and specific design. Don't forget essential tools like a level, measuring tape, saw, hammer, and drill.
Essential Materials List:
- Pressure-treated lumber for the frame (4x4 posts, 2x4s for rafters and walls)
- Plywood or OSB sheeting for the walls and roof
- Roofing material (shingles, metal, etc.)
- Concrete blocks or pier supports for the foundation (if needed)
- Nails, screws, and other fasteners
- Exterior-grade paint or stain (optional)
- Vapor barrier (optional, but recommended)
Building the Foundation and Frame
Begin by preparing your foundation. If your lean-to will be resting directly on the ground, consider using a gravel base for drainage and leveling. For a more stable structure, set concrete blocks or pier supports in the ground at intervals along the base. Ensure they are level and securely placed. Next, erect the frame. Attach 4x4 posts to the existing wall using robust lag screws. These posts will form the support for your roof rafters. Ensure the posts are plumb (perfectly vertical) using a level. Then, attach 2x4s horizontally between the posts to create the framework for the back wall. Finally, install the rafters, making sure they are properly spaced and secured to the posts. Maintain consistent spacing and use appropriate nails or screws for a strong connection.
Sheathing, Roofing, and Finishing Touches
Once the frame is complete, add sheathing to the walls and roof. This provides a solid surface for the roofing and exterior cladding. Use plywood or oriented strand board (OSB) and secure it firmly with nails or screws. Remember to overlap the sheeting for extra strength and weather protection. Install a vapor barrier under the roofing material to prevent moisture buildup. Apply your chosen roofing material according to the manufacturer's instructions. Shingles are common and relatively easy to install, but metal roofing offers superior durability. Finally, add finishing touches such as trim, doors, and windows, if desired. Consider adding a simple door for easy access and a window for ventilation. A fresh coat of exterior-grade paint or stain will protect your lean-to from the elements and enhance its aesthetic appeal.
Free Lean-To Shed Plans
Downloadable plans are not included within this article format. However, readily available free plans can be easily found online. Search for "free lean-to shed plans" on your preferred search engine for various designs and dimensions to choose from. Remember to carefully review the plans before beginning construction, and adjust them as needed to fit your specific needs and materials.
Building a lean-to shed is a rewarding project that significantly increases your property's functionality. With careful planning and execution, you can create a valuable addition to your home, all while saving money and enjoying the satisfaction of a successful DIY project. So, get those tools ready, and happy building!


